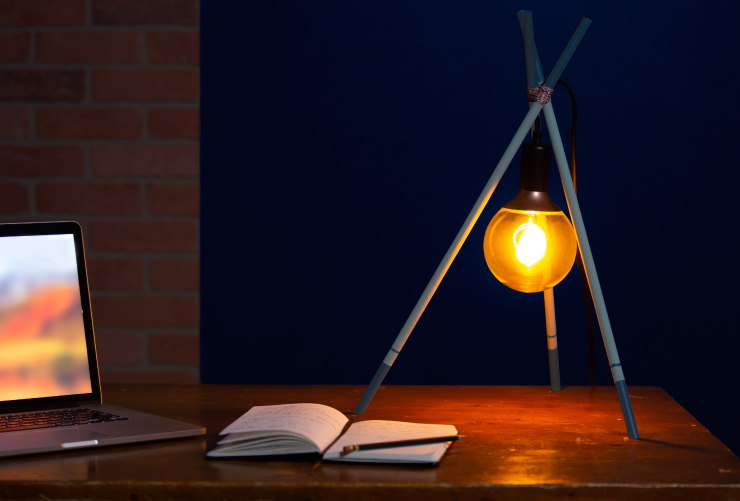
This father’s day give your hipster dad the perfect gift in a simple, fun and tremendously cool tripod lamp!
Searching the internet for a project for father’s day I stumbled across this cute lamp on instructables.com. Though exceptionally cool looking and super simple to create, I felt it needed a bit more pizzazz. So, I have taken this project one step further with the addition of COLOR! Adding a bit of color allows us the ability to customize this project to our special man’s personal tastes.
To create this project you will need the following tools and materials.
Materials:
3, 1/2″ wooden dowels
Paint
Cord
Lighting cable
Light bulb
Painter’s tape
Tools:
Pencil
Measuring tape
Miter saw or hacksaw
Detail paint brush
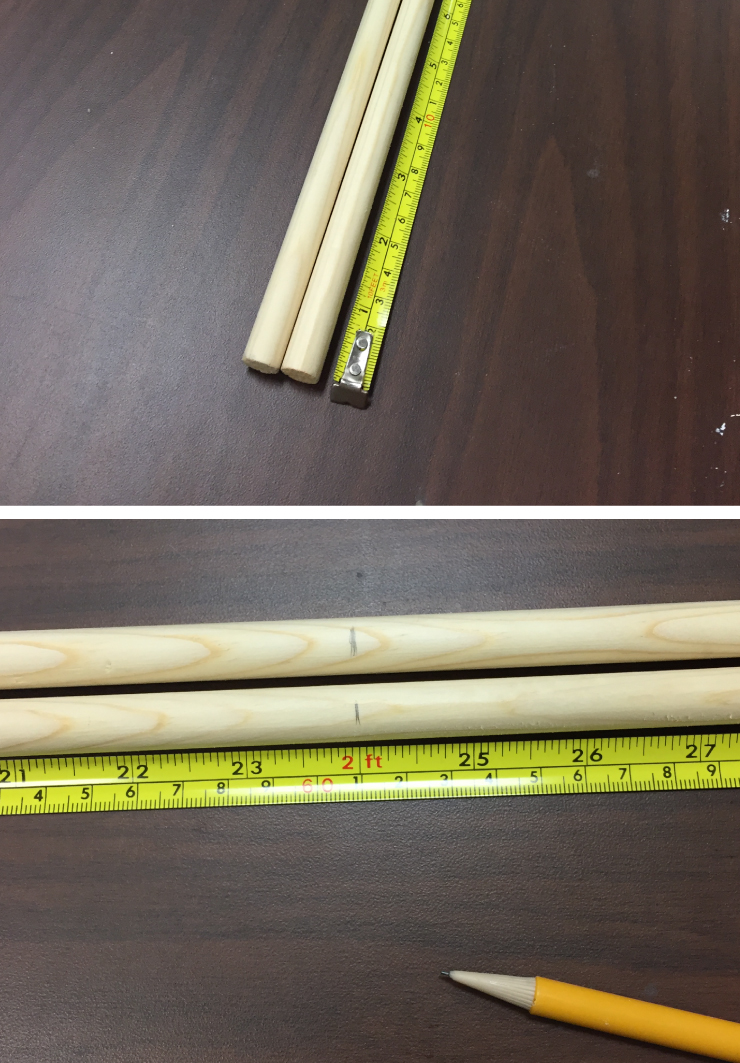
Step 1: Measure and cut dowels
Measure your dowels to the desired length. The dowels I selected were four feet in length, so the easy choice was to make one cut to get three 24″ long pieces. Once measured and marked make your cuts with a miter or hacksaw.
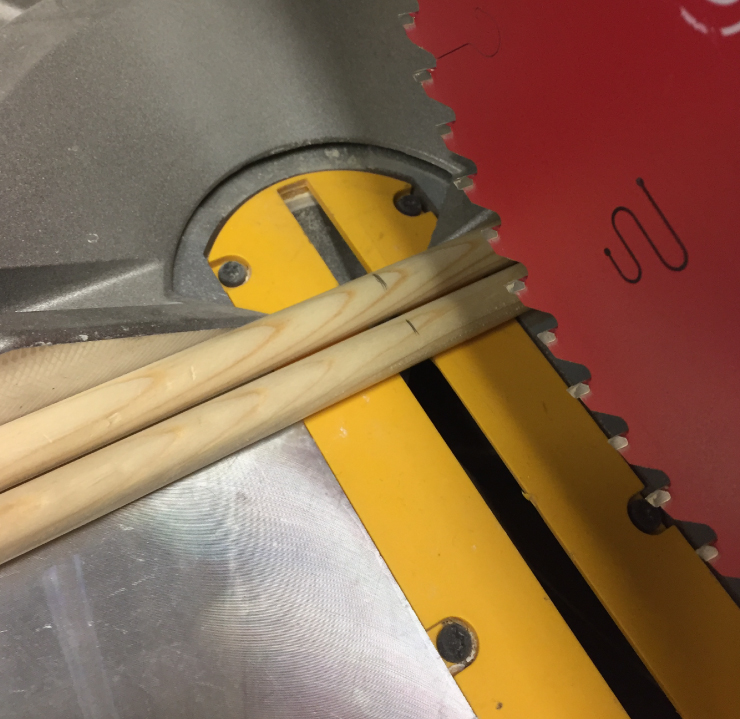
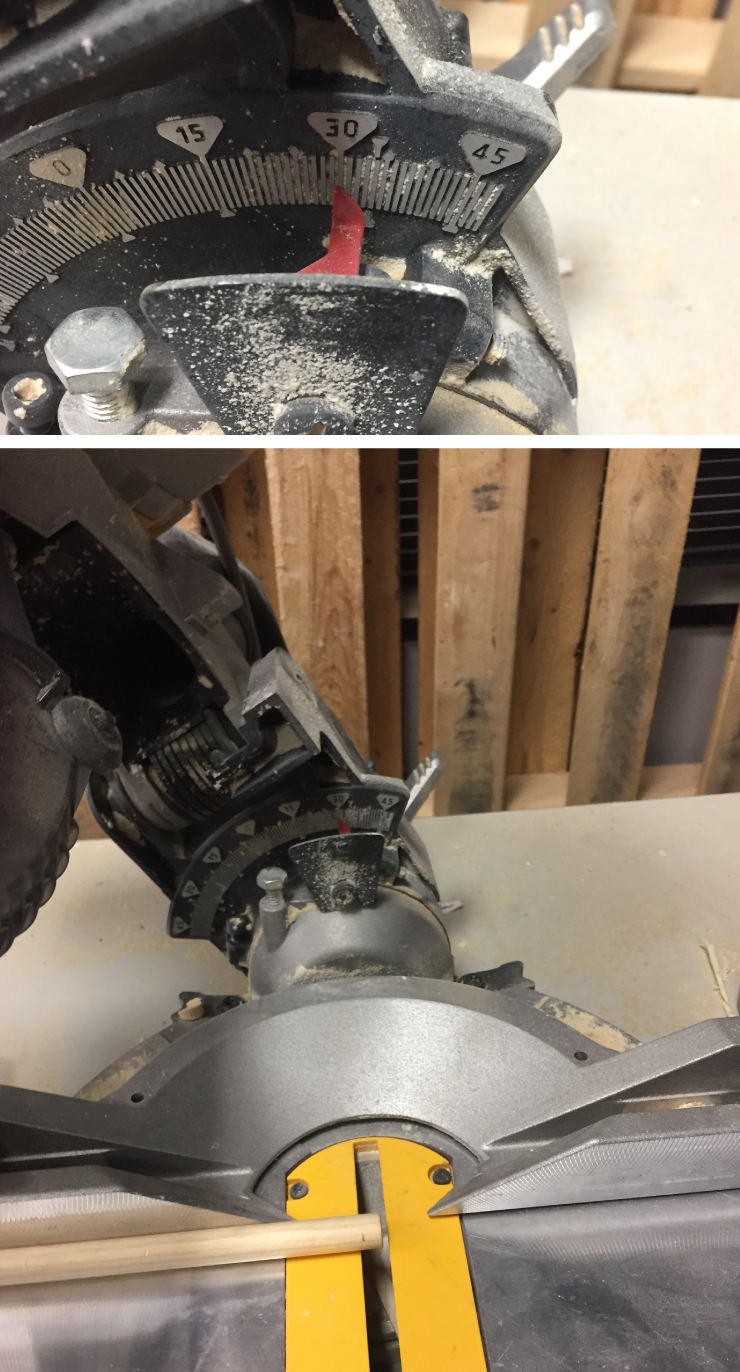
Step 2: Measure and cut base
Measure up a 1/4″ inch or so from the base of the dowels. With your miter or hacksaw cut the angle from your mark to the base of the dowel. I angled my miter saw to 30 degrees first, however, this is an optional step.

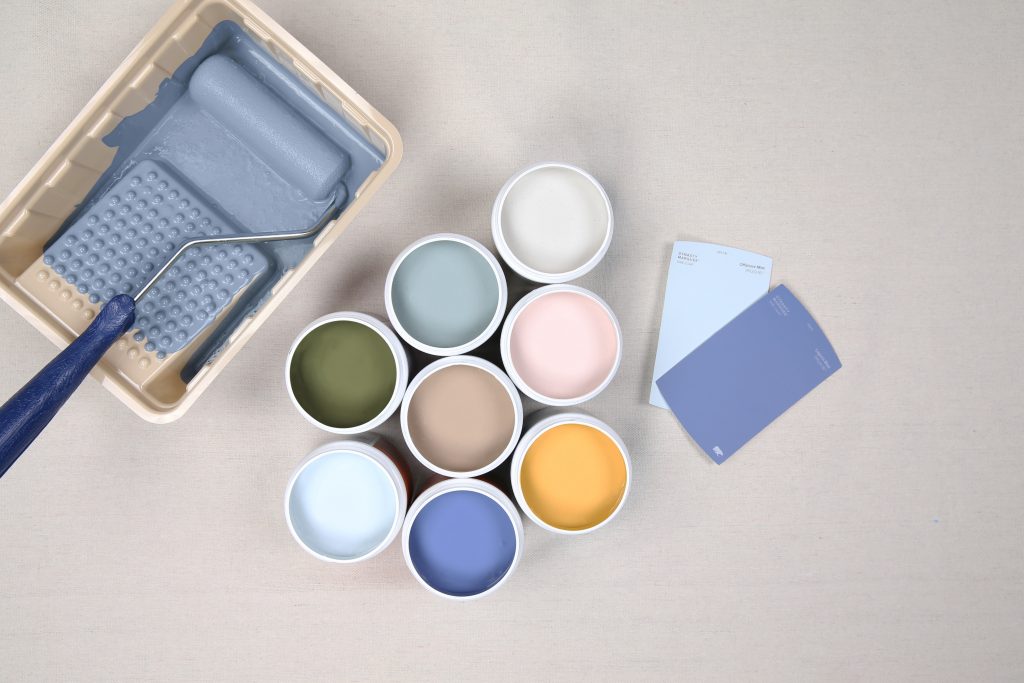
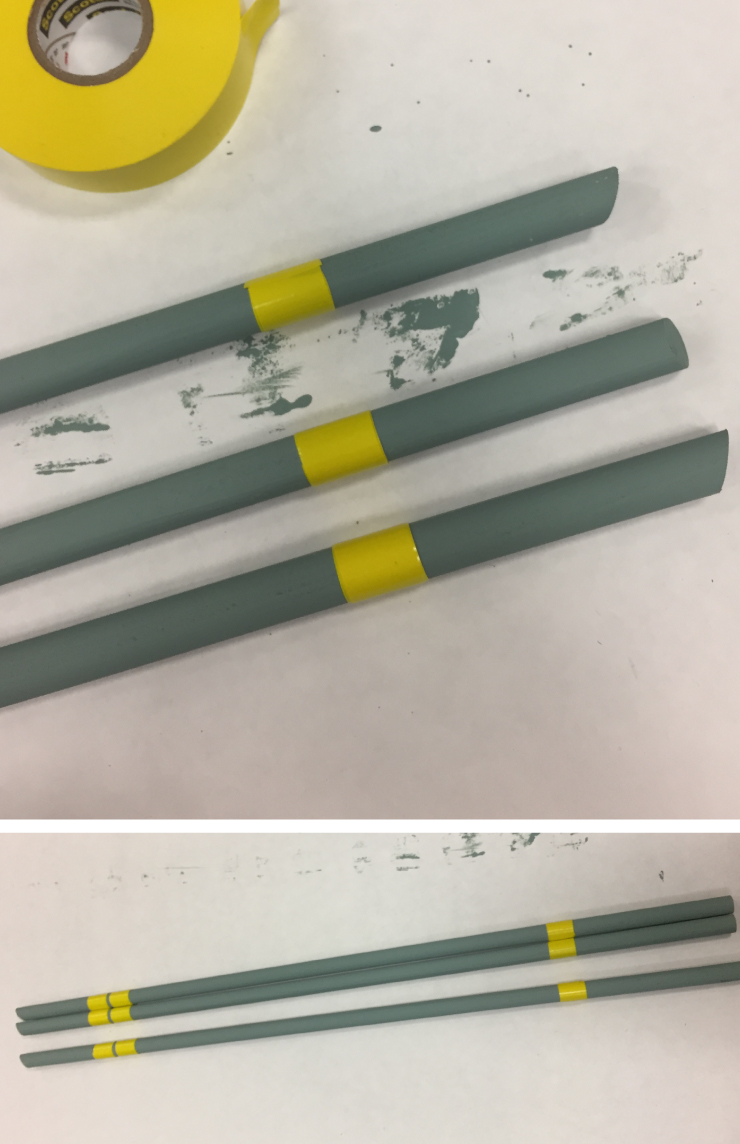
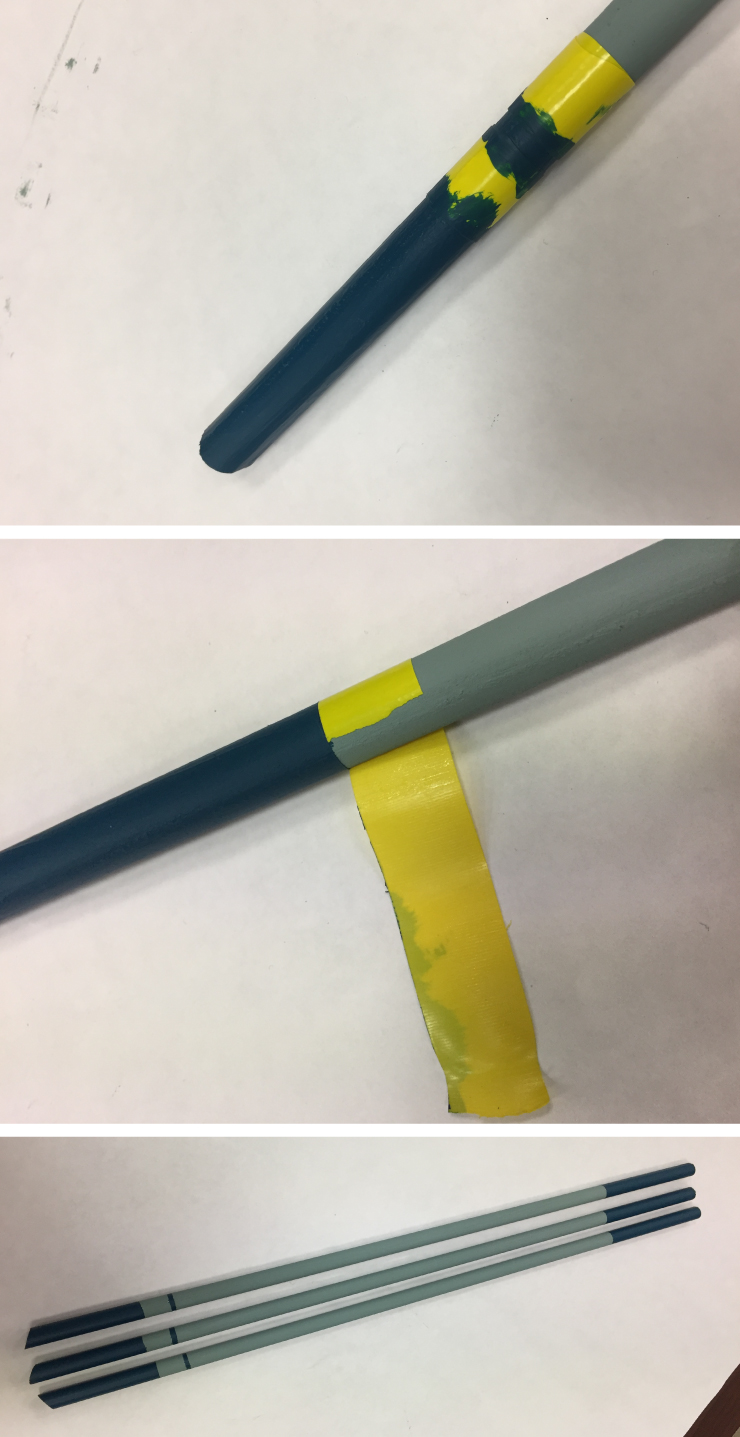
Step 3: Paint your dowels
Select a color you think your dad would like to paint your dowels. Paint and allow to dry. Apply a second coat if desired/necessary.

Color used: In The Moment T18-15
Step 4: Paint details
If you would like to add a bit of detail and an additional color to your lamp, you can easily do so with some painter’s or masking tape. Wrap the dowels with tape around the edge of where you’d like the color to stop or start. Paint the areas and allow to dry. Paint a second coat if necessary/desired.
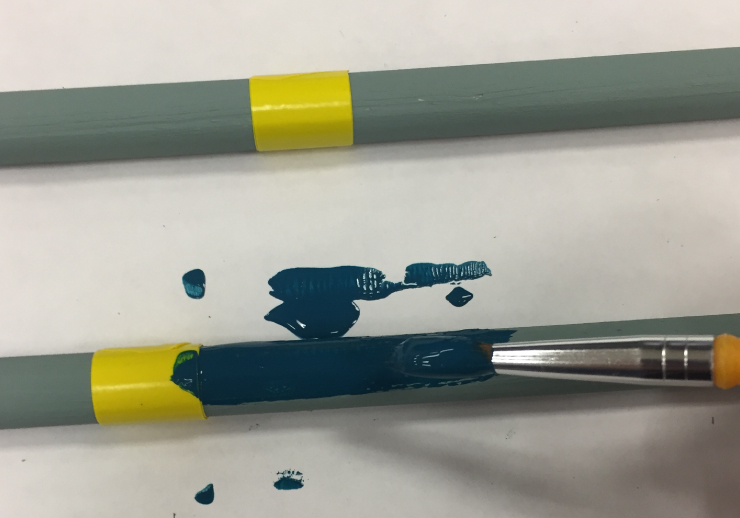
Color used: Tsunami S450-7
Step 5: Remove tape
When dry carefully remove the tape from dowels. If you would like to add additional colors repeat steps 4 and 5 until content with the look.
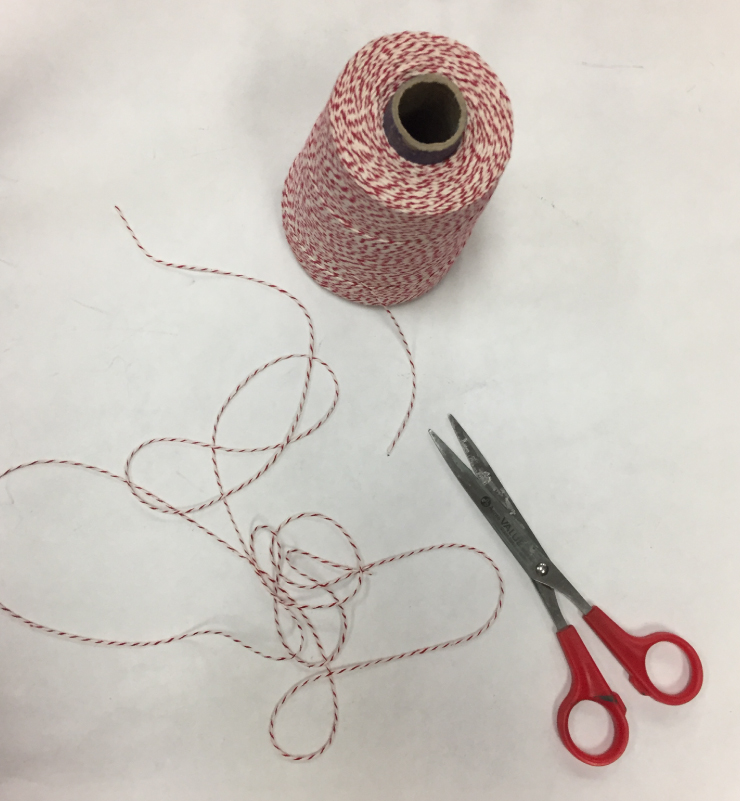
Step 6: Cut a length of cord
Cut a length of your biding cord about three feet in length.
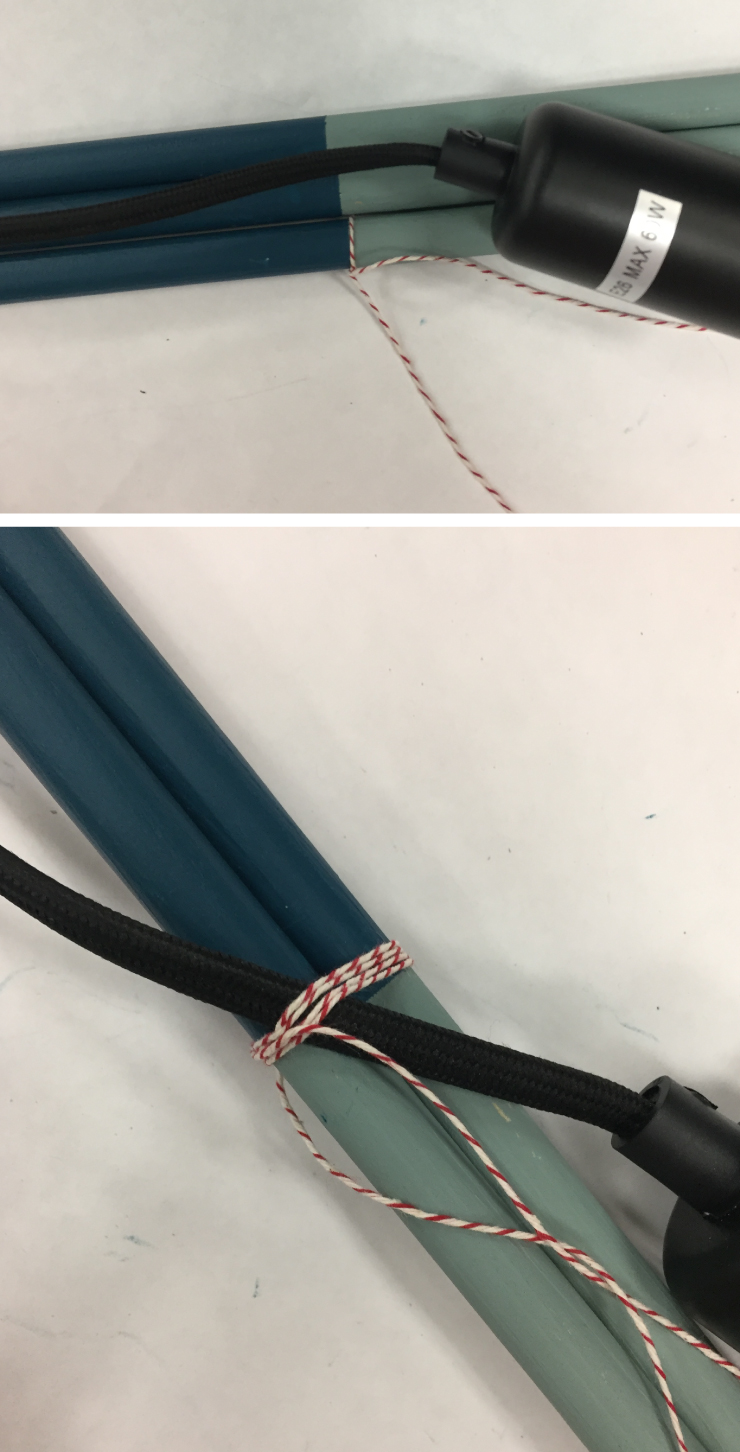
Step 7: Bind lamp
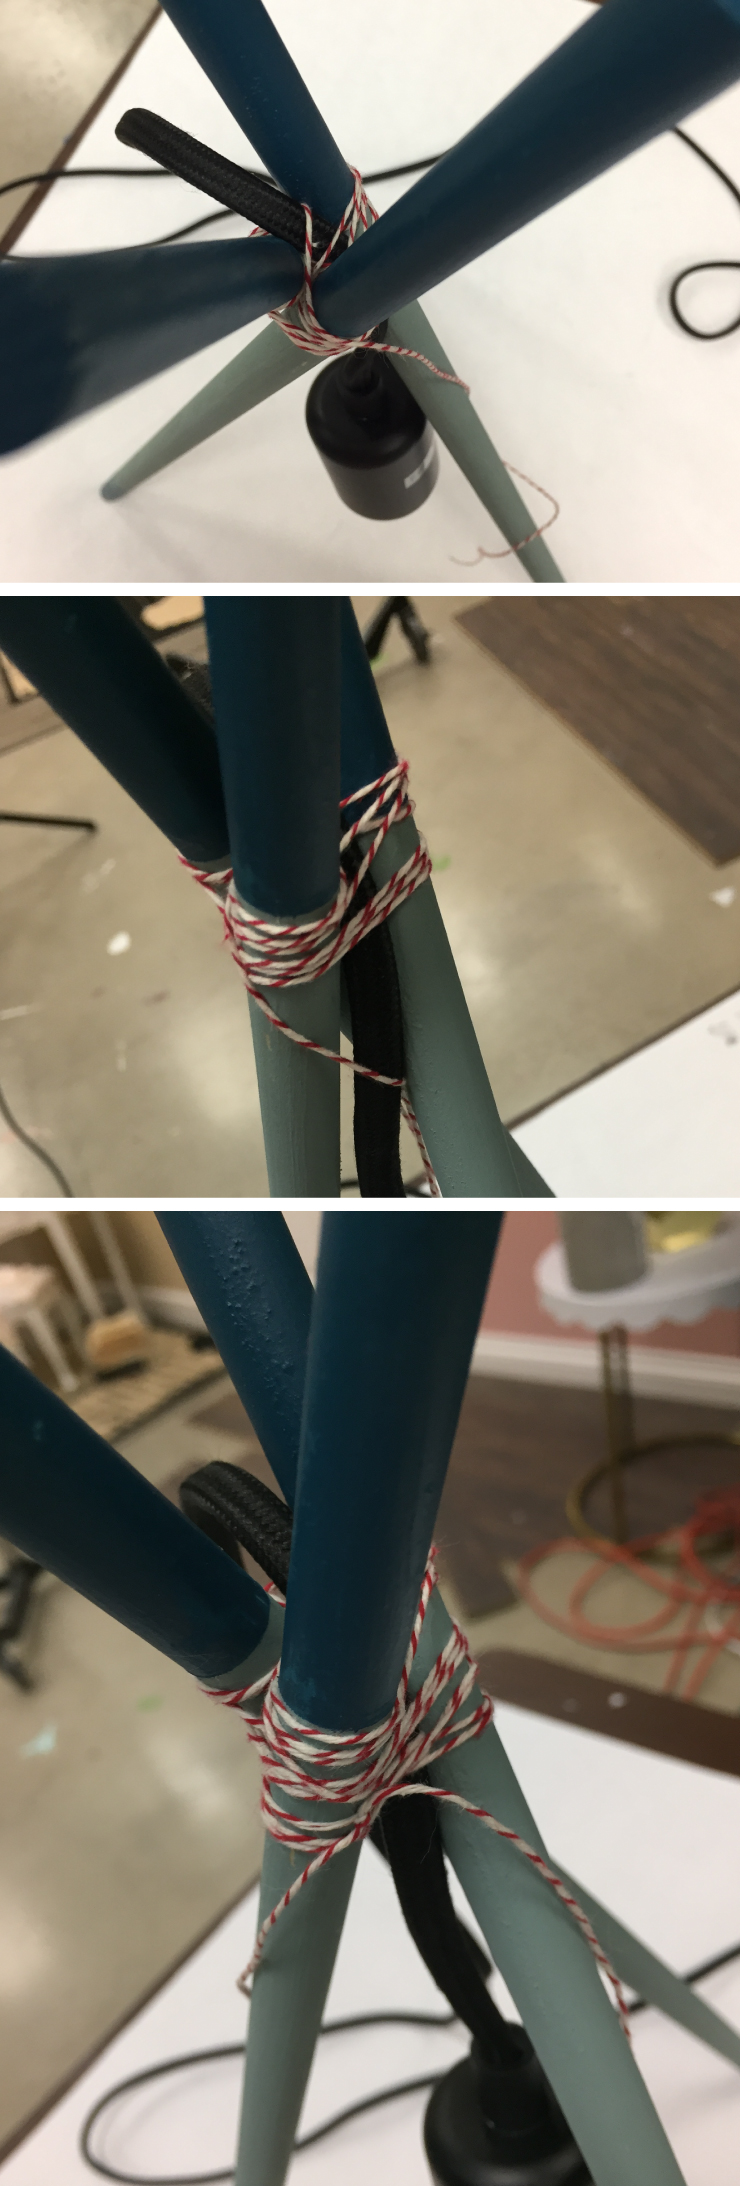
Tie one end of your cord to one of your dowels and secure tightly with a knot. Next line up your dowels and the lighting cable together. Make sure the angled feet are all on one end together. Wrap the cord around the bundle several times and secure with a knot.
Step 8: Weave cord top
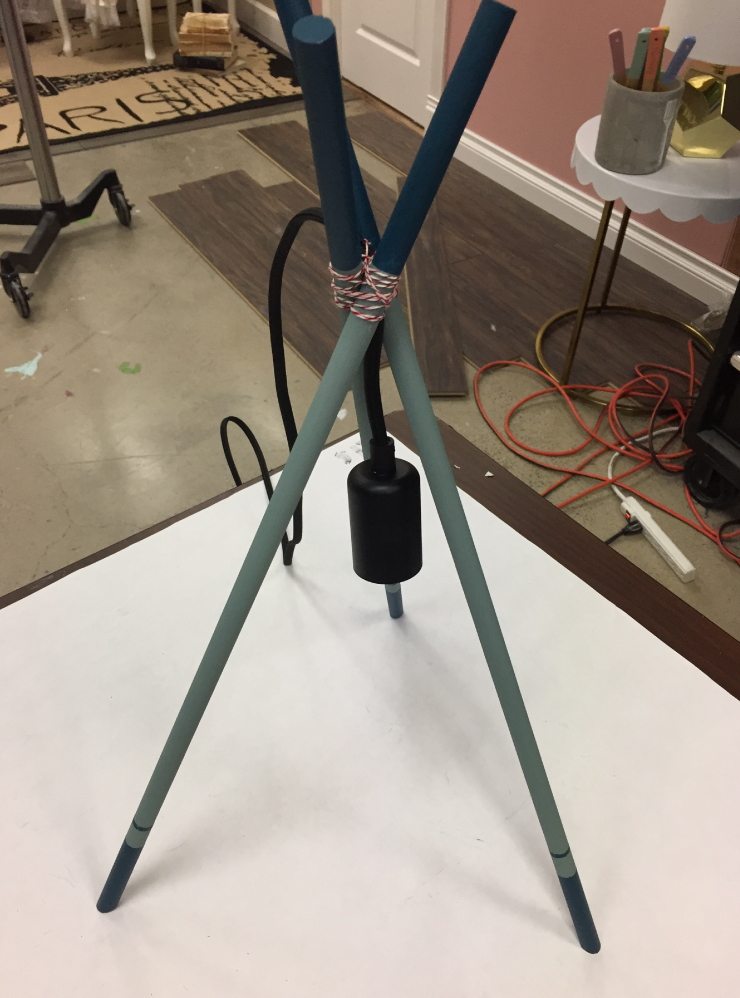
Prop the bundle on its feet. With the lighting cable in the middle spread out and position the feet into a triangle formation. Take the long end of your string and begin to weave it around the dowels and lighting cord in a continuous “X” pattern.
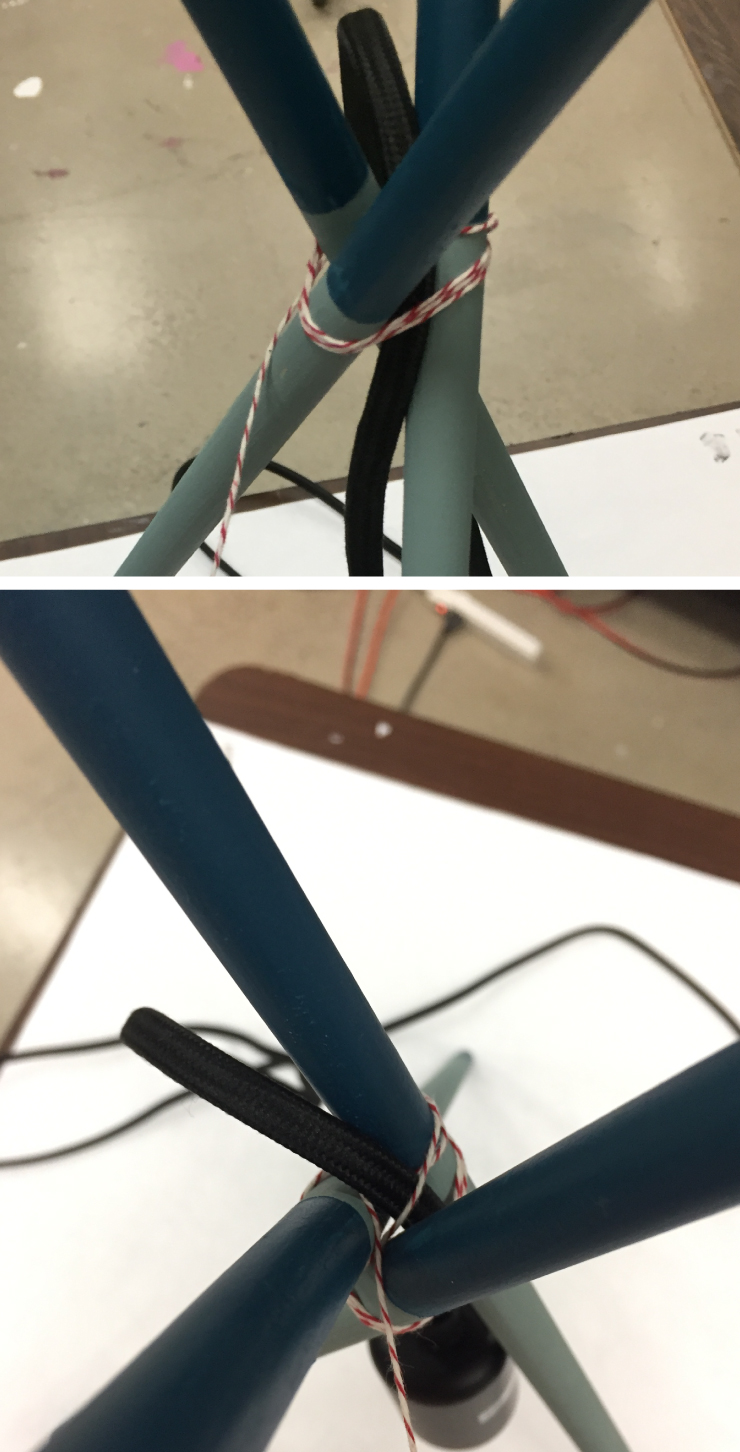
Step 9: Weave cord bottom
Repeat the weave you completed in step 8, but this time weave through the bottom of the dowels. After several rotations bring the end of the string back to the loose end of your initial knot and secure tightly.
Step 10: Scerw in blub
Screw your lightbulb into the lighting cord and gently place in the perfect spot for your dad!
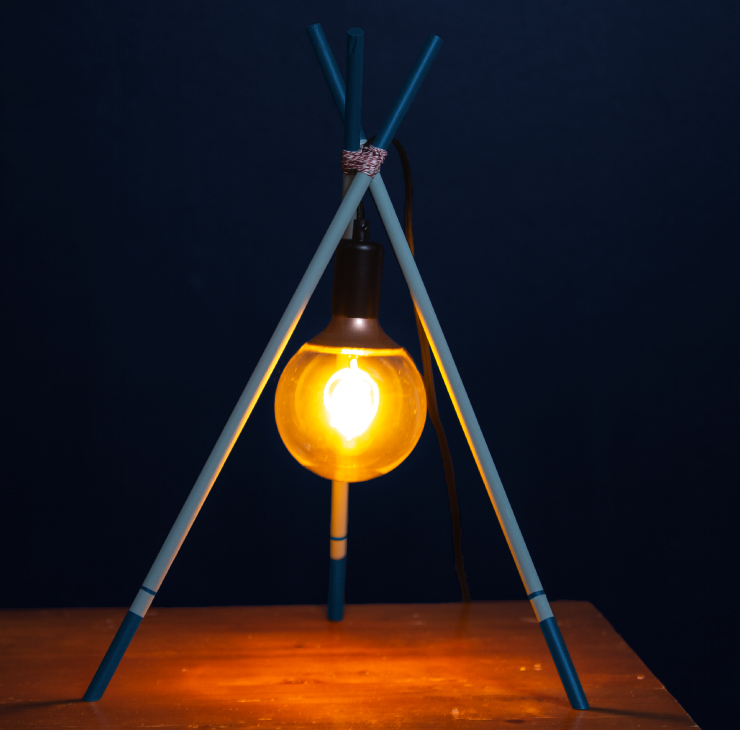
We wish all the fathers and fatherly figures out there a very happy Father’s Day!
Colorfully yours,
-Quinn
DIY Projects
Father’s Day 2018: DIY Tripod Lamp
TIME
BUDGET
COMPLEXITY